Git Merge Tutorial: A Comprehensive Guide with Examples

If you’ve ever worked on a project with multiple developers (or even just managed multiple features yourself), you know that branching is essential for keeping things organized. But at some point, all those branches need to come back together—and that’s where git merge comes in.

In this tutorial, I’ll walk through the different types of Git merges, how they work, and how to resolve merge conflicts when things don’t go as planned. Finally, I’ll share some best practices to help you use git merge effectively and avoid common pitfalls.

What is git merge?

In a team setting, developers often work on different features, bug fixes, and improvements in separate branches. Once their work is complete, they use git merge to integrate those changes.

Merging combines changes from one branch into another while preserving the full version history. It unifies the commit history of both branches.

Let’s understand the workflow through an example.

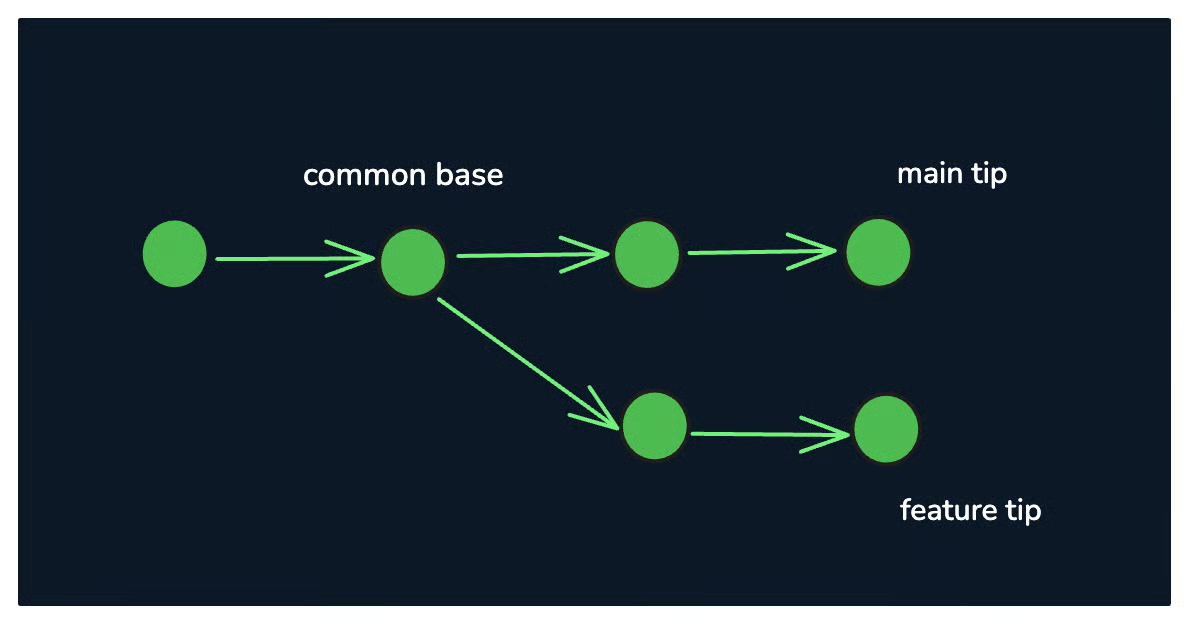
A common base commit diverges into two branches, leading to separate main and feature tips before merging. Image by Author.

In the above image, the feature and main branches have created new commits since the feature branch was created.

A feature branch and the main branch diverge from a common base and are later combined into a single merge commit. Image by Author.

Git merge takes all new commits from both branches, starting from their common base, and combines them into a single merge commit. Then, it updates the head pointer to point to this new merge commit.

Basic git merge Command Usage

Merging isn’t just about running git merge and calling it a day—there are a few key steps to get everything in order first. In this section, we’ll walk through the entire process, from preparing your branches to completing a successful merge.

Step 1: Preparing for a merge

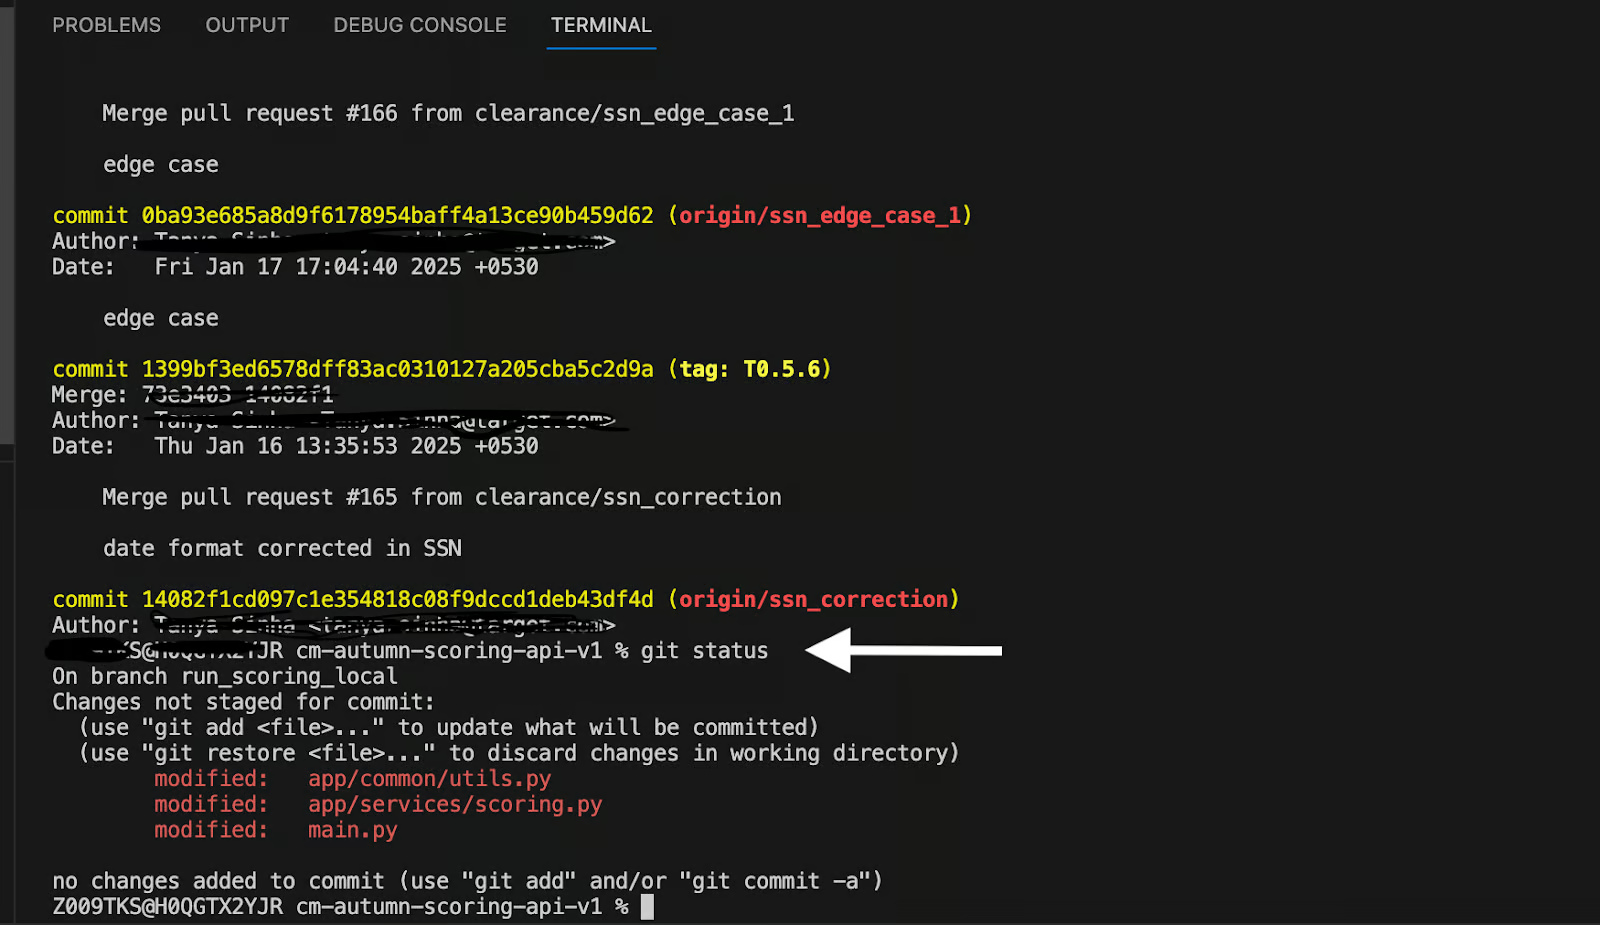
Only committed changes in both branches can be merged. So, use the git status command to check for uncommitted changes and commit them using the git commit command before merging. 

Step 2: Checkout the target branch

Before running git merge, you should switch to the target branch, usually the main branch. Switch to the main branch using git checkout main or git switch main

Step 3: Merging a branch

Ensure the main branch is up to date with the remote repository. For this, run git pull origin main.

Now, you’re finally ready to merge the feature branch into the main branch! You can use a command like the following:

git merge feature-branch

Step 4: Resolving merge conflicts (If any)

Git tries to automatically resolve conflicts that might occur during merges. However, manual intervention could be required when it can’t resolve the conflict on its own. 

For example, if the same lines in the same file are modified in different branches, then merge conflicts can occur. 

When Git detects a conflict, it pauses the merge and asks you to resolve it. In that case:

  • Run git status to see which files have conflicts. 
  • Open those files.
  • Review the conflicting code lines, and update them to ensure consistency in both branches.

Step 5: Committing the merge

After resolving conflicts, use the git add .  command to stage the fixed files. Then, complete the merge by committing with a message: 

git merge -m “resolved conflicts”

In the later sections, we’ll see how to resolve merge conflicts in more depth.  

For beginners, here’s a complete Git cheat sheet covering all essential commands for creating, updating, deleting, and managing branches. 

If you already have some Git experience and need a refresher on the important commands, check out this tutorial for the most used Git commands with examples.

Types of Merges in Git

Understanding Git merge types will help you choose the right strategy for your scenario. Here are the three common approaches to merging. 

Fast-forward merge

When the base branch has no new commits since the feature branch was created, Git uses a fast-forward approach. 

If your new feature branch is updated while the main branch remains unchanged, the merge commit moves the main’s head pointer to the feature branch. 

No additional merge commit is created, which keeps the commit history clean and linear.

Three-way merge

If both the base and feature branches have new commits, Git will find their common ancestor and create a new merge commit. This commit combines the histories of both branches, preserving the individual history of the feature branch and the main branch.

In the below example, “E” and “G” are new commits to the main branch after the feature branch was created. 

C---D---F (feature-branch) / A---B---E---G (main)

A new merge commit, “M” is created, preserving the history of both main and feature branches. 

C---D---F / \ A---B---E---G---M (main)

Squash merge

Squash merge combines all changes of a feature branch into a single commit and merges it into the target branch. It doesn’t preserve the individual commit history of the feature branch. 

git merge --squash feature_branch_name

A squash merge is especially helpful for avoiding clutter from multiple small commits while still retaining the final state of the feature in the target branch.

Merging Multiple Branches

When working on large projects, you might need to merge multiple branches—either one at a time or all at once. The approach you choose depends on your workflow and the complexity of the changes. In this section, I’ll explore both methods and when to use them effectively.

Merging more than one branch sequentially

To merge branches one by one, use the merge command sequentially for each feature branch. 

Step 1: Switch to the target branch into which you want to merge the changes.

git checkout target_branch_name

Step 2: Merge the first feature branch, as shown below.

git merge feature_branch_1

Step 3: Merge the second feature branch as shown.

git merge feature_branch_2

Repeat this process until all other branches are merged.

Merging more than one branch in parallel

Follow these steps to merge multiple feature branches at once.

Step 1: Switch to the target branch into which you want to merge the changes.

git checkout target_branch_name

Step 2: Execute the following command with multiple feature branches 

git merge feature_branch_1 feature_branch_2 feature_branch_3

When Git merges multiple branches in parallel, conflicts may occur. If that happens, Git will prompt you to resolve them manually.

Handling conflicts with multiple merges

Merging multiple branches isn’t always straightforward—especially when one branch depends on another. 

For example, merging feature_x into main before feature_y can introduce conflicts. Similarly, if different branches modify the same files, parallel merges can lead to conflicts that need careful resolution.

Follow these steps to resolve merge conflicts:

  • Step 1: Execute git status to view what files cause conflicts.
  • Step 2: Open the conflicting files and correct them.
  • Step 3: Add the changes to the stage and commit.

Understanding merge commit history 

For complex conflicts, you might need more information than what git status provides. In such cases, you can use commands like git log or git show to dig deep into the history.

  • git log: shows the entire commit history, including merge commits. This helps identify a specific merge where the issue occurs. 
  • git show: If you find a suspicious merge commit from the above command, use git show to inspect it. This command provides a detailed view of the commit, showing what was changed during the merge. It also outputs a unique identifier for the parent branch before a specific merge happens.
  • git diff: You can take the unique identifiers of the parent and merged branches from the previous commands and use git diff to compare the changes between these two states.

Git Merging Best practices

Merging can sometimes be messy, especially when multiple developers are working on the same codebase. 

While we’ve covered how to resolve conflicts when they arise, the best approach is to prevent them before they happen. In this section, we’ll go over practical tips to keep your merges smooth and your Git history clean.

Keep branches small and focused

Large branches increase the risk of overlapping edits, leading to more conflicts. To minimize this, work on a single feature per branch and keep branches small and focused.

Frequently pull and merge

Pull the latest changes from the remote repository to keep your base branch updated before merging. Regularly pull updates from the main branch into your feature branch to keep them in sync. These prevent large and complex conflicts later.

Use Git’s built-in merge tools

Instead of manually editing files, you can use git built-in tools to resolve conflicts in a visual UI. When you run git mergetool, three choices open up:

  • LOCAL – Main branch version. Choosing this keeps the conflicting file’s content from the main branch and ignores the changes from the feature branch. 
  • REMOTE – The feature branch version. Selecting this applies the feature branch’s content to the conflicting file.
  • BASE – This will combine the changes of both branches conflicting files and merge them. 

Merge in order

When merging multiple branches, the order matters—especially if one feature depends on another. If feature_x relies on feature_y, merging feature_x first can introduce conflicts. To avoid this, always merge branches in the order of their dependencies to keep the process smooth and minimize conflicts.

Squash merging 

As mentioned before, squash merging consolidates all commits from a feature branch into a single commit, keeping the commit history clean and reducing potential merge conflicts.

An alternative approach is rebasing, which applies the feature branch changes directly on top of the base branch. This creates a linear history and avoids unnecessary merge commits. However, both methods rewrite history and do not preserve individual commits from the feature branch.

Conclusion

In this Git merge tutorial, we’ve covered everything from the basics of merging to best practices for avoiding conflicts. Understanding how to use git merge effectively helps teams collaborate seamlessly, keeping workflows smooth and code history clean.

If you’re looking to deepen your Git skills, check out this intermediate Git course to master more advanced workflows and techniques!

Source:
https://www.datacamp.com/tutorial/git-merge