


PowerShell 是一种强大的脚本语言,脚本意味着自动化的能力。但在 Mac 上安装 PowerShell 可能有些棘手。不过别担心!本教程将带你逐步完成在 Mac 上安装 PowerShell。
跟随本教程后,你可以在 Mac 上像在任何 Windows 计算机上一样使用 PowerShell。
继续阅读,为你的 Mac 加入 PowerShell 吧!
先决条件
本教程将进行实操演示。如果你想跟着操作,请确保你的 Mac 安装了 macOS High Sierra(或更新版本)、Homebrew 和 Xcode。
使用 Homebrew 在 Mac 上安装 PowerShell
Homebrew 是 Mac 的软件包管理器,类似于 Ubuntu 的 apt 或 Fedora 的 Yum。它使在 Mac 上安装软件比手动操作更加方便。
Homebrew 允许你通过运行几个命令在计算机上安装最新的稳定版或预览版 PowerShell for Mac。
在 Mac 上安装 PowerShell(稳定版)
A stable version means that the software has been thoroughly tested and is suitable for use in a production environment.
要在 Mac 上使用 Homebrew 安装稳定版的 PowerShell,请按照以下步骤进行:
1. 启动终端应用程序。
2. 运行以下命令来安装 PowerShell。brew 部分是核心 Homebrew 命令,而 cask 部分是一个扩展,允许 Homebrew 安装 macOS 应用程序。
安装完成后,您将看到类似下面的输出。截至本文撰写时,最新的稳定版 PowerShell 版本为 7.2.6。

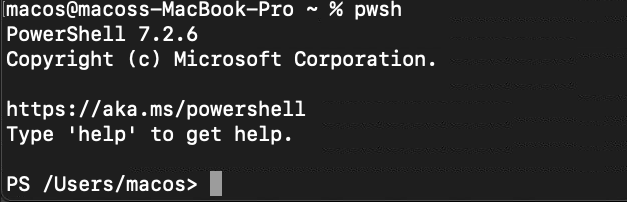
3. 最后,运行以下命令启动 PowerShell。
您将看到类似下面截图的内容,表示 PowerShell 正在运行于您的 Mac 上。
安装 PowerShell for Mac(预览版)
微软还发布了 PowerShell 的预览版。这些版本包含尚未经过全面测试的新功能,不建议在生产环境中使用。但您可能希望安装预览版以测试新功能。
要在 Mac 上安装 PowerShell 的预览版,请按照以下步骤进行。
1. 运行以下命令以添加 Homebrew 版本存储库。此存储库包含各种应用程序的预览版,包括 PowerShell。
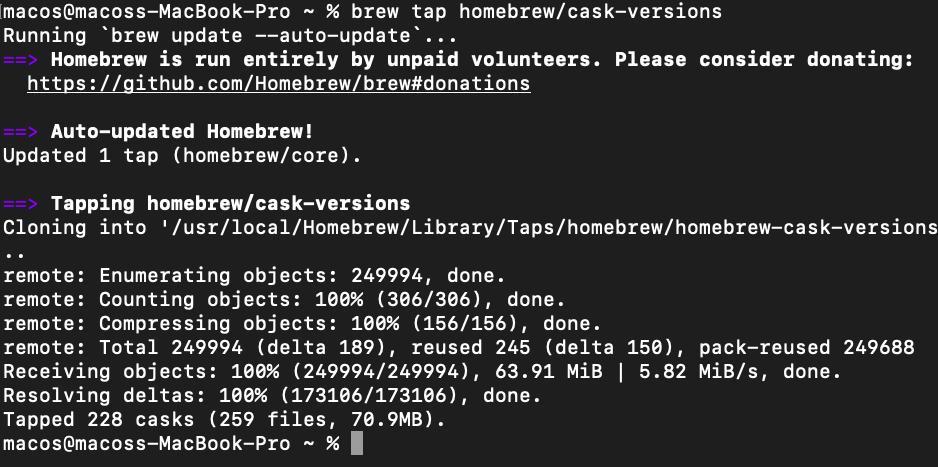
2. 接下来,运行以下命令以安装最新的 PowerShell 预览版。
安装完成后,您将看到类似下面的输出。截至本文撰写时,最新的 PowerShell 预览版为 7.3-preview.7。

3. 要启动 PowerShell 预览版,请在终端中运行以下命令。

升级 PowerShell for Mac
PowerShell for Mac定期发布更新,您可以使用Homebrew升级到最新版本。新版本通常包含错误修复和性能改进。
要将PowerShell for Mac升级到最新的稳定版本,请在终端中运行以下命令。第一个命令会更新Homebrew的软件包列表。第二个和第三个命令分别将PowerShell for Mac升级到最新的稳定版本和预览版本。


使用PKG文件安装PowerShell for Mac
微软还提供PKG安装程序文件的PowerShell for Mac版本。您可以从PowerShell GitHub发布页面下载这些文件。
如果您喜欢使用GUI而不是命令行安装软件,PKG安装程序适合您。要使用PKG文件安装PowerShell,请按照以下步骤操作:
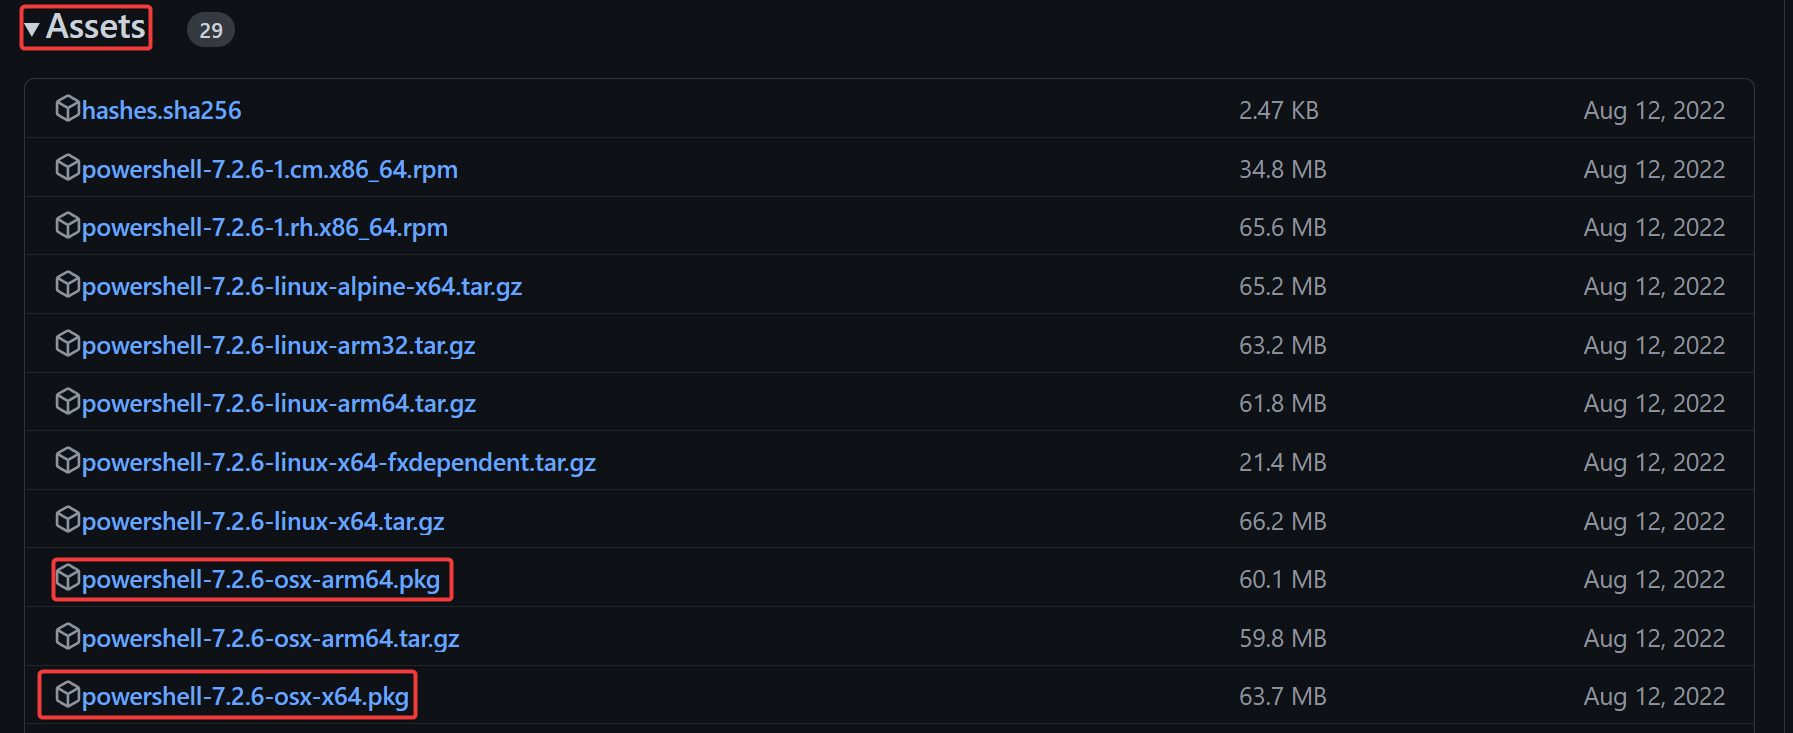
1. 打开您的浏览器,打开PowerShell GitHub最新发布页面,并点击”Assets”下拉菜单。
2. 点击适用于您计算机CPU类型的PowerShell PKG文件链接。如果您的Mac配有M1芯片,请选择arm64选项;否则,请选择x64链接。截至撰写本文时,最新的稳定版本是7.2.6。
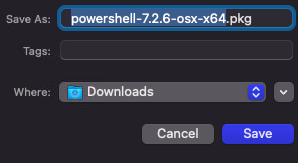
3. 将文件保存到您的下载文件夹中。
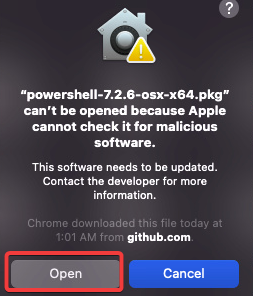
4. 下载文件后,双击打开以启动安装程序,然后单击“打开”按钮。
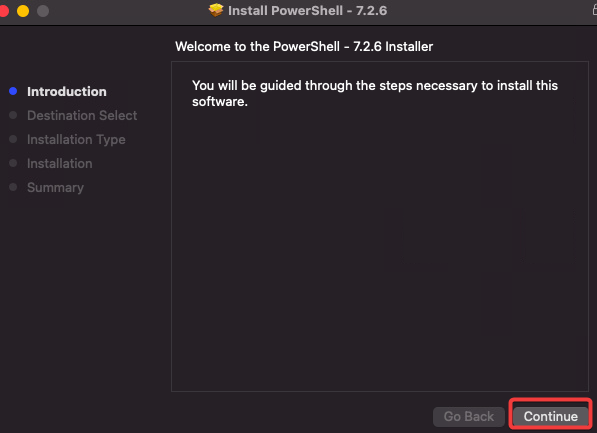
5. 在介绍屏幕上点击“继续”按钮。
PowerShell for Mac 仅支持在当前用户帐户上安装。您无法选择自定义安装目标路径。
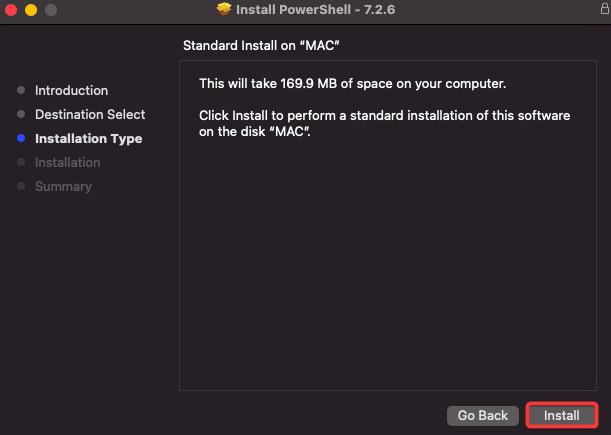
6. 在安装类型屏幕上点击“安装”按钮。
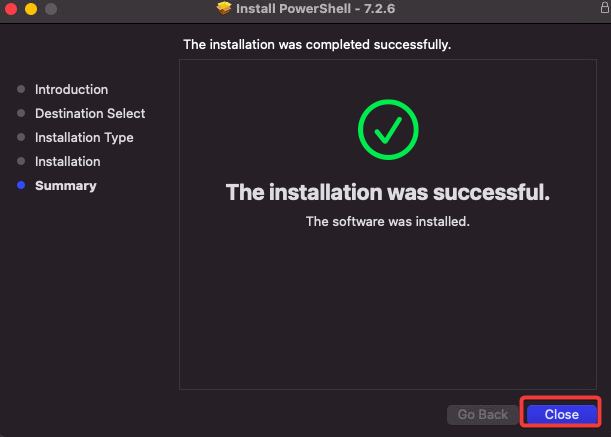
7. 在摘要屏幕上点击“关闭”按钮完成安装。
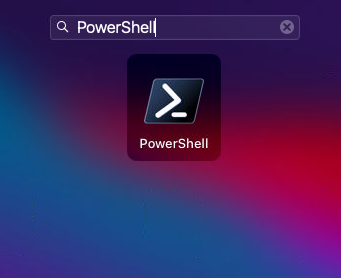
8. 最后,从启动台启动 PowerShell 并在搜索框中键入 PowerShell。从结果中点击 PowerShell 以打开它。
使用 Dot Net Developer CLI 安装 PowerShell for Mac
另一种在 Mac 上安装 PowerShell 的方法是使用 Dot Net Developer CLI。Dot Net Developer CLI 是一个跨平台的 DOTNET 命令行界面(CLI),允许您开发、构建、运行和发布 DOTNET 应用程序。
如果您是开发人员并且已经在 Mac 上安装了 dotnet CLI,那么这种方法可能是安装 PowerShell 的最便捷方式。
1. 运行下面的命令使用 dotnet CLI 安装 PowerShell。
安装完成后,您将看到类似于以下的输出。

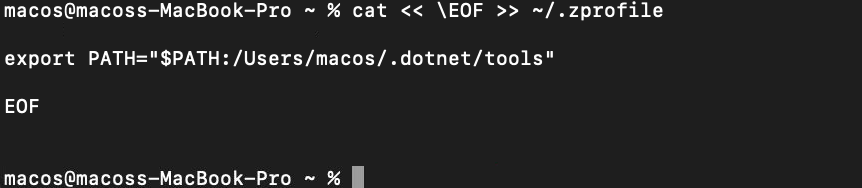
2. 现在,运行下面的 cat 命令更新 PATH 变量。此命令将将 PowerShell 安装目录添加到您的 PATH 环境变量中,以便您可以从任何目录启动 PowerShell。
3. 接下来,在终端会话中运行以下命令以重新加载环境变量。

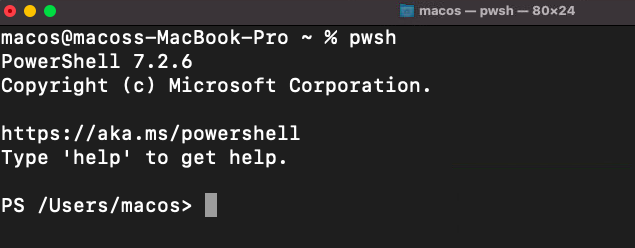
4. 最后,在终端中通过运行pwsh命令启动PowerShell。
结论
PowerShell是在其支持的任何平台上自动执行任务的优秀工具。本教程教会了您如何使用Homebrew、PKG文件和Dot Net Developer CLI在Mac上安装PowerShell。
此时,您应该对如何在Mac上安装PowerShell有了很好的了解。您现在可以开始使用PowerShell在Mac上自动执行任务。有了这些新学到的知识,作为管理员,为什么不开始编写一些您知道能为您节省时间的复杂流程脚本呢?
谁知道,也许您的下一个脚本就是帮助您自动化公司发布流程的脚本!