


Are you looking for an open-source web server to handle your high traffic needs? Install Apache on Ubuntu to serve as the perfect solution!
Apache is the most widely-used web server and can easily handle large traffic volumes. And in this tutorial, you’ll learn how to install Apache on an Ubuntu Linux server and set up virtual hosts.
Give Apache a try today and get rid of the web server downtimes!
Prerequisites
This tutorial will be a hands-on demonstration. If you’d like to follow along, be sure you have the following.
- An Ubuntu server – This tutorial uses Ubuntu 20.04.
- A user account with root privileges.
How to Install Apache on Ubuntu Server
Apache provides many powerful features, such as dynamically loadable modules, a versatile configuration system, and extensive logging capabilities. And to take advantage of these features, start by installing Apache on your server.
By default, the Apache package is available in the Ubuntu repositories, and you can install Apache by running one command using the apt package manager.
1. Run the apt update command below to ensure your server is up to date and any security patches are applied.
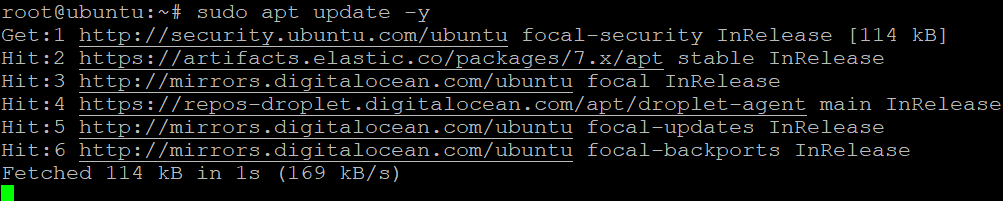
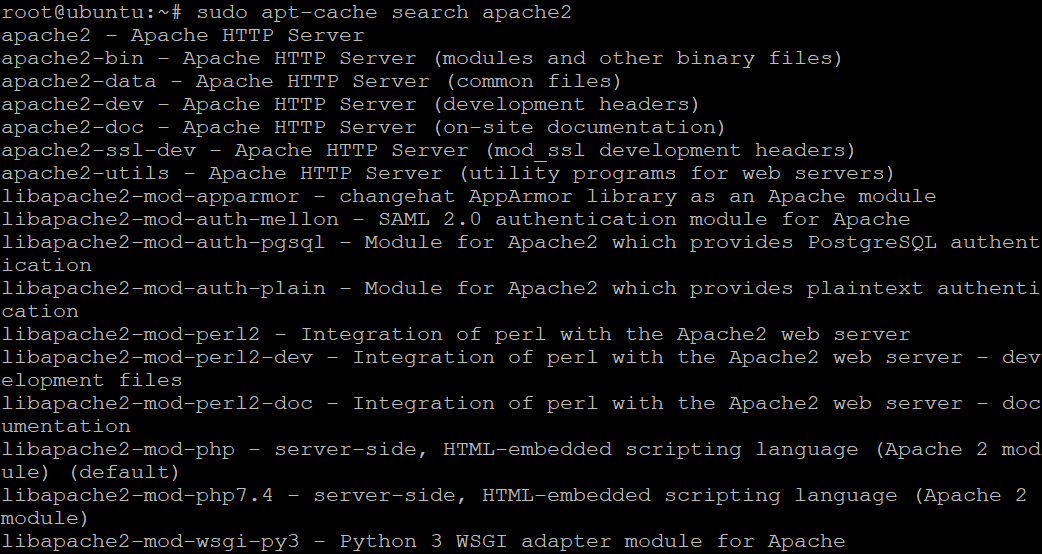
Updating Server Package Index2. Run the apt-cache command below to search and list all available Apache packages on your system.
In the screenshot below, you can see all available Apache packages, and the most common packages are:
- apache2 – Apache HTTP Server – this package is the standard Apache webserver.
- libapache2-mod-php – this package provides PHP support for the Apache webserver.
- apache2-ssl-dev – this package provides support for SSL/TLS connections in Apache
- apache2-utils – this package provides various utilities for the Apache webserver like htpasswd to create users for basic authentication.
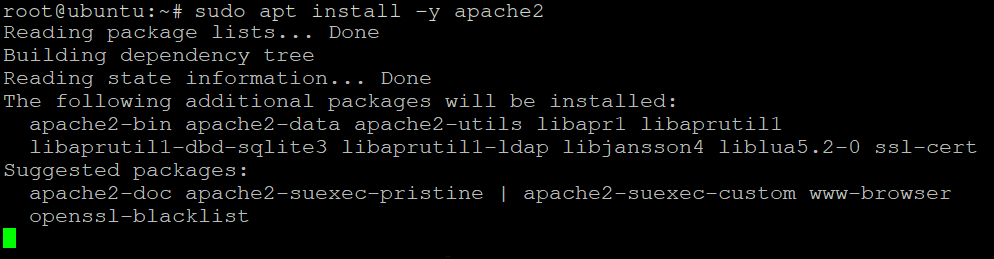
3. Run the following apt install command to install Apache on your server.
4. Once the package is installed, run the systemctl command below to start Apache (apache2). This command doesn’t have an output, but you’ll check the Apache service status in the following steps.
5. Now, run the following command to enable Apache to start at boot time since the Ubuntu default installation will not start the Apache service automatically.

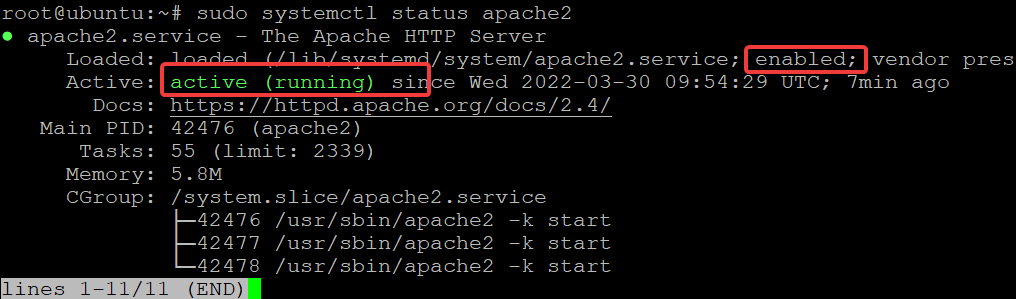
6. Next, run the systemctl command below to check the status of the Apache (apache2) service.
You will see the following output. The active (running) state indicates that the Apache service is started and running as expected.
7. Run the below command to check the version of Apache installed on your server.
As of this writing, the latest stable Apache version is 2.4.41, and yours might be different.

8. Finally, open your favorite web browser and navigate to your Ubuntu server’s IP address or hostname (i.e., 192.168.1.100).
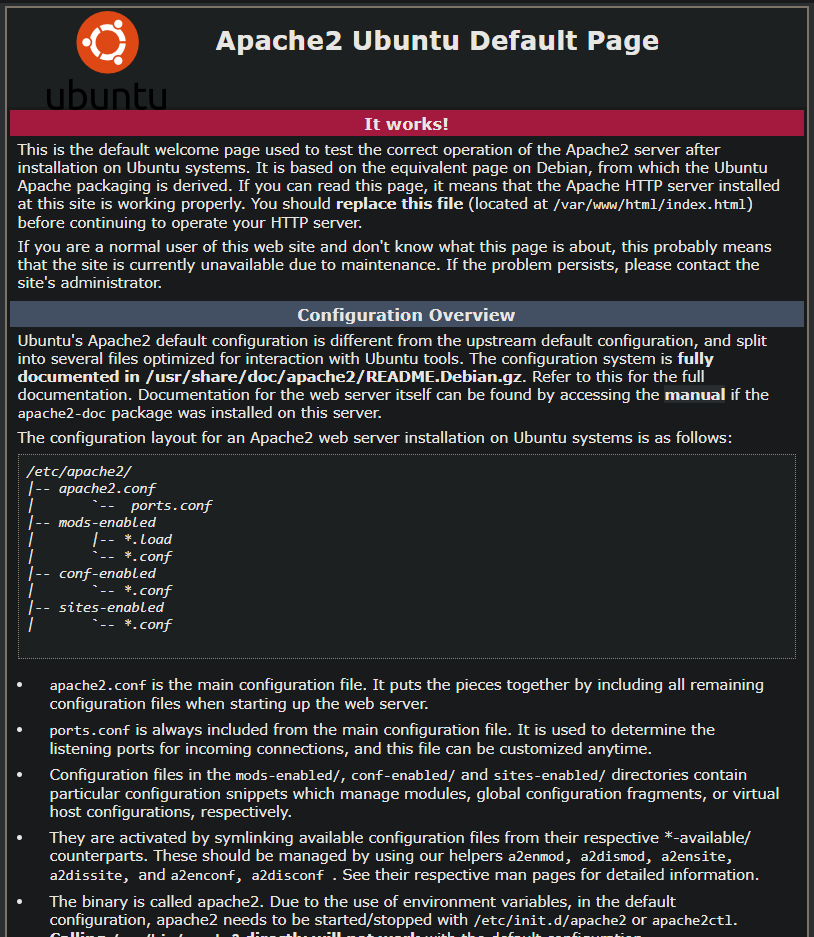
Below, you can see the default Apache web page created during the installation process. This page confirms that Apache is installed and working as expected.
If, for some reason, you got an error instead, jump to the following section and configure your firewall.

Configuring the UFW Firewall to Secure the Apache Server
In the previous section, you requested a web page from your Apache server, which displayed the default Apache web page. But what if you got a “connection refused” error, as shown below? This error could result from your firewall preventing access to the Apache server.

To resolve this connection error, you’ll configure your firewall to allow access to the Apache server. And the default Ubuntu installation includes a firewall called UFW that helps protect your server from unauthorized access.
1. Run the below command to list all application profiles are included in UFW.
You can see below the different available applications in UFW:
- Apache Full – This profile allows access to the full range of ports needed by the Apache webserver (ports 80 and 443).
- Apache – The default profile that allows access to the unsecured port 80.
You shouldn’t use this profile in a production environment because it’s less secure.
- Apache Secure – This profile is more secure because it restricts access to only the port for TLS/SSL encrypted traffic (port 443).
- OpenSSH – This profile allows access to the SSH port (port 22) to allow SSH connections.

2. Next, run the following commands to enable (allow) the Apache Full profile along with SSH.
These commands allow access to all ports, which is helpful in a developer environment.

Perhaps you like to disable an application, change the allow option to disable option, like this: sudo ufw disable ‘app_profile’
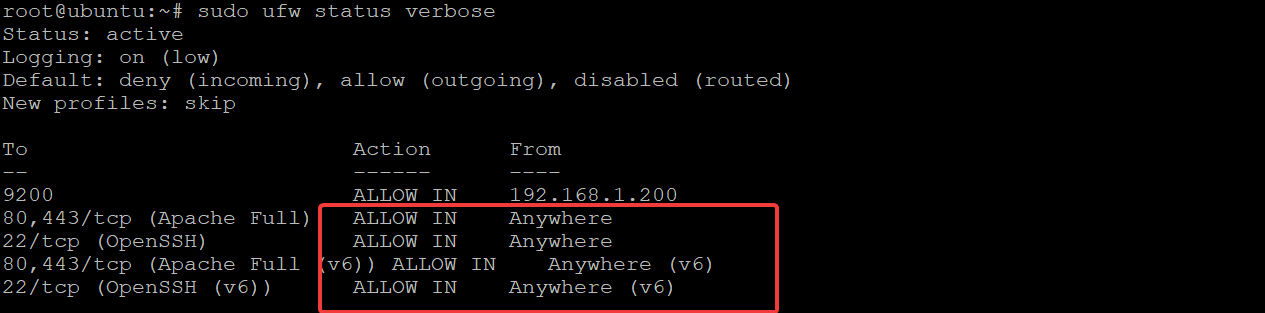
3. Run the ufw status command below to check the status of your UFW firewall.
Below, you can see the firewall rules available, indicating that Apache Full and OpenSSH are accessible from Anywhere.
4. Finally, open your web browser and try to request a web page from your Apache server. This time, you will see the default Apache web page created during the installation process.
Setting up Virtual Hosts to Serve Websites
Your Apache server is up, so it’s time for the most exciting part, hosting your web application. How? You’ll be setting up your virtual hosts on your Ubuntu server. A virtual host is a configuration file that allows you to host multiple websites on a single server with a single IP address.
Note that creating files and directories starting from this point of the tutorial requires sudo access.
To start setting up virtual hosts:
1. Run the below command to create a new directory called /var/www/example.com. You’ll use this directory to store the content for your website. Replace example.com with the actual domain name that you want to use.
This command doesn’t have an output, but you can verify the directory by running this command: ls /var/www
2. Next, run the below chown command to change the ownership of the /var/www/example.com directory to your user account. This command doesn’t have an output but allows you to manage the content for your website.
3. Run the chmod command below to change the permissions of the /var/www/example.com directory to 755. This command doesn’t have an output but grants your user account read and write access to your website’s content.
4. Now, create a file called index.html in the /var/www/example.com directory with your preferred editor. Populate the file with the code below, save the changes and close the file. The index.html file serves as the default page of your website.
The code below creates a simple web page that displays the text Hello World! Your virtual host is working!.
5. Create a new virtual host configuration file called example.com.conf in the /etc/apache2/sites-available directory.
You can edit the default /etc/apache2/sites-available/000-default.conf file to contain your new virtual host. But it’s a better idea to create a new file for your website. This behavior helps you to keep your configuration files organized.
Copy/paste the configuration below to the example.com.conf file. But be sure to replace example.com and webmaster@localhost with the actual values for your website.
Save the changes and close the file.
6. Now, run each command below to disable the default virtual host file and enable your new virtual host file.
The default virtual host file is enabled by default, and you can’t use your new virtual host file unless you disable the default virtual host file.

7. Run the service command below to restart your Apache server (apache2) to apply the changes.
8. Finally, open your web browser and navigate your website (example.com).
If your Apache server configurations are correct, you’ll see the same message below displayed in your web browser.

Conclusion
In this tutorial, you’ve learned how to install Apache on Ubuntu and set up virtual hosts to serve your website on a single server. At this point, you can now host multiple websites on your Ubuntu server effectively.
This tutorial acts as a primer, and you might consider going further with Apache and configuring other features. Perhaps try setting up virtual hosts with SSL and password protection to secure your Apache server? Or adding custom headers to your website to control user requests?
Source:
https://adamtheautomator.com/install-apache-on-ubuntu/