


连接全球人和机器现在比以往任何时候都更容易,使用TeamViewer。但在Ubuntu上安装TeamViewer并不像在Windows上那样直截了当。
别担心!本教程将引导您完成在Ubuntu上安装TeamViewer的过程。
继续阅读,使用TeamViewer保持与团队的连接!
先决条件
本教程将进行实际演示。为了跟随操作,请确保您具备以下条件:
- 一台安装TeamViewer的Ubuntu机器 – 本教程使用Ubuntu 20.04 LTS,但任何近期的Ubuntu都可以正常工作。
- 在您的Ubuntu机器上安装 PowerShell。
通过软件中心在Ubuntu上安装TeamViewer
TeamViewer支持跨平台连接。但由于TeamViewer在Ubuntu上不是默认安装的,您首先必须在您的机器上安装此工具。
在Ubuntu上安装TeamViewer的最用户友好的方法是通过软件中心,一个集中管理您所有软件需求的地方。
要从软件中心安装TeamViewer:
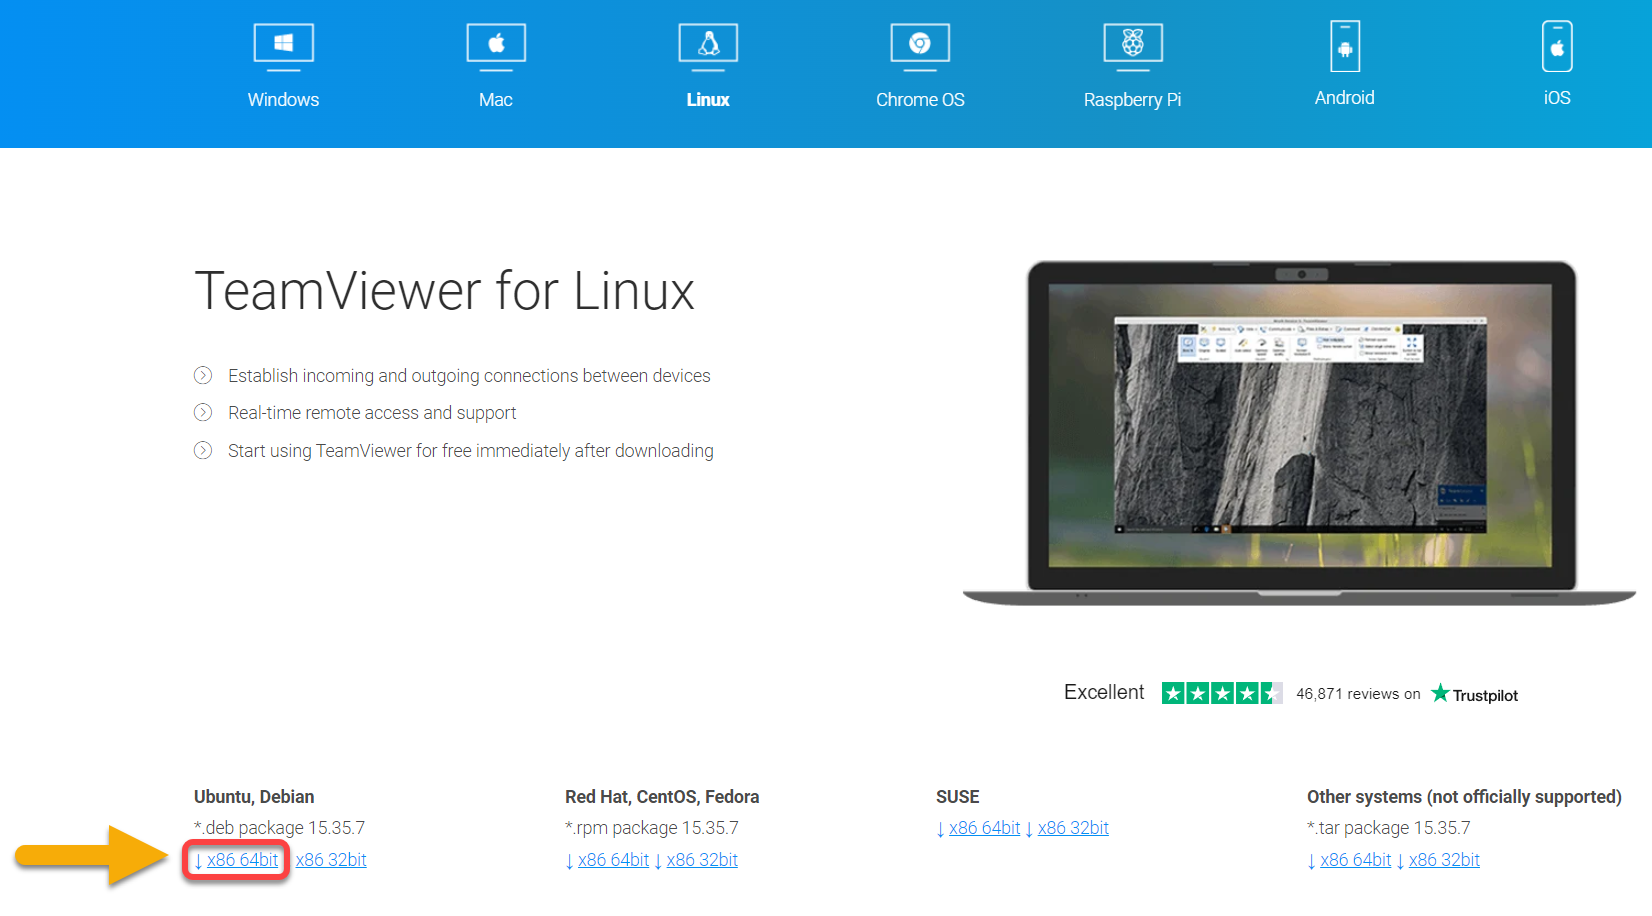
1. 打开你喜欢的网络浏览器,访问TeamViewer的官方下载页面。
2. 在Ubuntu,Debian(左下角),点击x86 64位选项以下载64位Ubuntu系统的TeamViewer软件包。
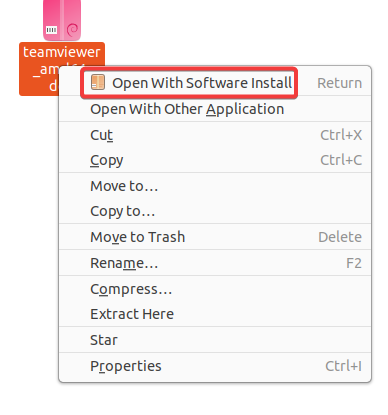
3. 下载完成后,打开文件管理器,右键单击.deb软件包,选择用软件安装打开。这样做会打开Ubuntu软件中心并开始安装TeamViewer。
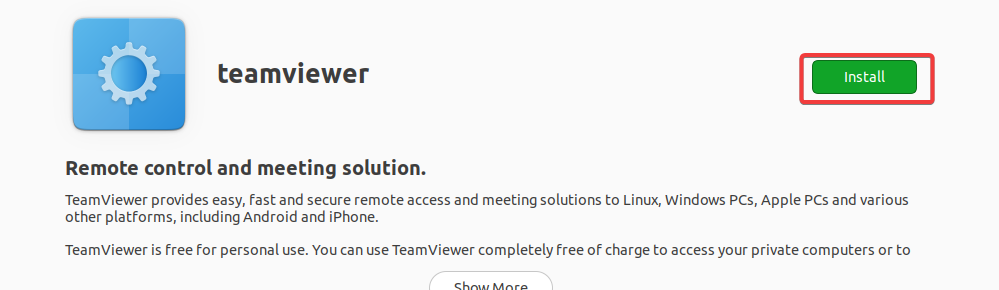
4. 现在,在TeamViewer的概览页面上点击安装以安装TeamViewer。
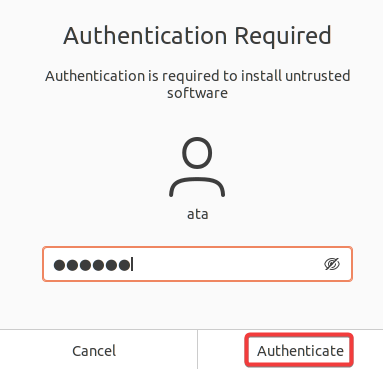
5. 在提示时输入你的密码,然后点击验证以继续安装。
下面,你可以看到TeamViewer的安装进度。

安装完成后,你会看到一个删除图标,如下所示。

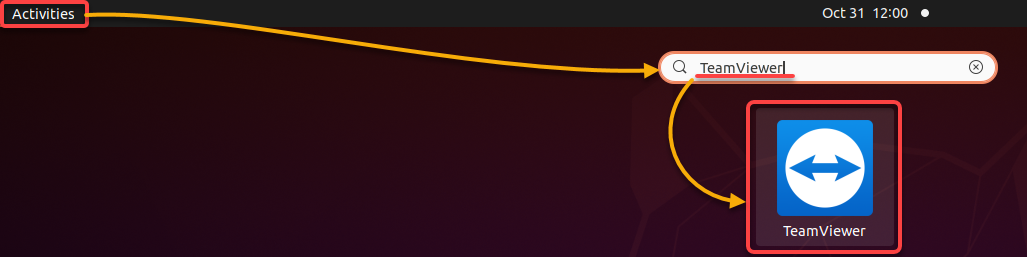
6. 最后,点击活动,搜索并点击TeamViewer来启动工具。
通过终端安装TeamViewer
不喜欢点击和在不同窗口之间切换来安装软件包吗?如果你喜欢使用命令行,你可以通过终端在Ubuntu中安装TeamViewer。
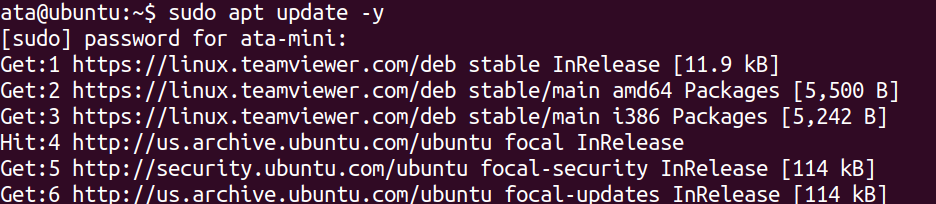
1. 运行以下命令apt update来更新系统的软件包索引。
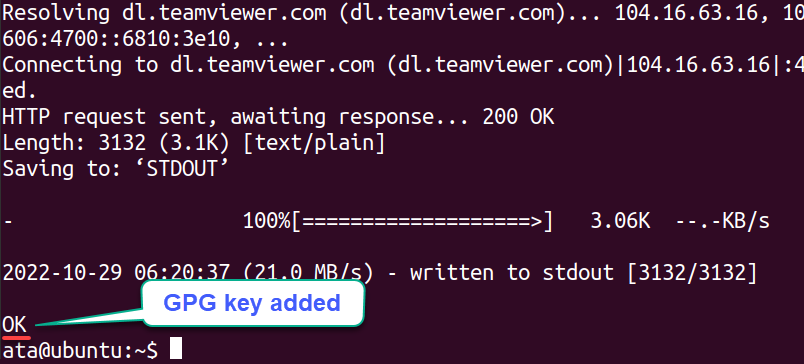
2. 接下来,运行以下wget命令以添加TeamViewer的GPG密钥,因为您将从外部存储库安装TeamViewer。
为什么要添加GPG密钥?在首次安装软件包时,APT会检查并确保通过匹配加密签名来下载正确的文件。如果不匹配,APT将不会安装该软件包。
3. 运行以下apt-add-repository命令以将TeamViewer存储库添加到您的系统中。
Ubuntu的默认存储库可能不包含软件的最新版本。但添加TeamViewer的存储库可以确保您尽快获得最新的稳定版本。

4. 现在,重新运行以下命令以更新软件包索引,包括TeamViewer存储库。
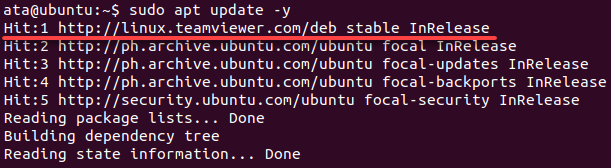
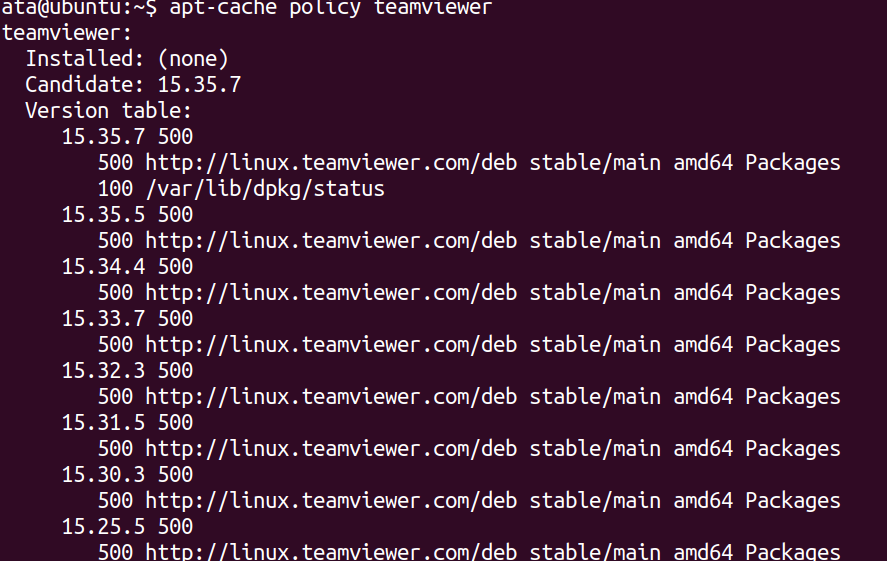
5. 更新完成后,请运行以下apt-cache命令检查 TeamViewer 存储库配置。
如果 TeamViewer 存储库配置正确,您将看到类似以下的输出。
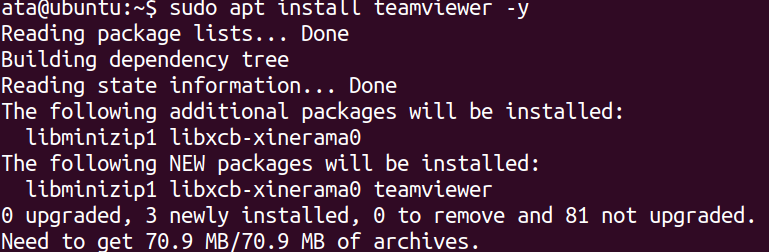
6. 接下来,运行以下apt install命令安装 TeamViewer。
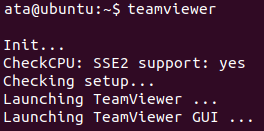
7. 安装完成后,请运行下面的 teamviewer 命令从终端启动 TeamViewer。
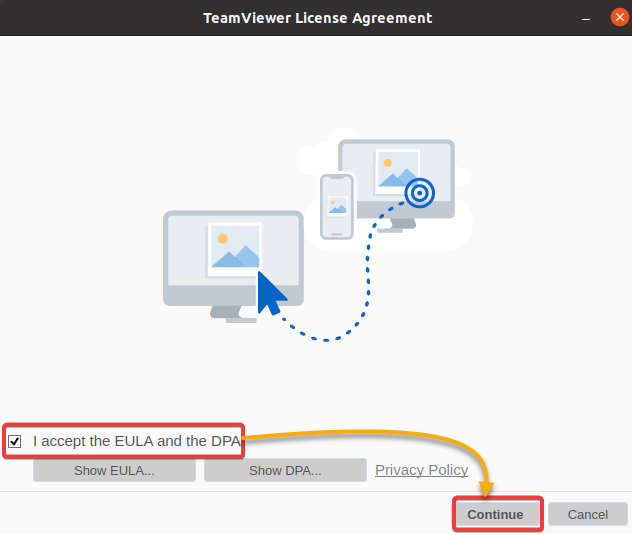
8. 最后,请勾选“我接受最终用户许可协议和数据处理协议”复选框,然后单击“继续”以接受许可协议。这个提示只在第一次启动 TeamViewer 时显示。
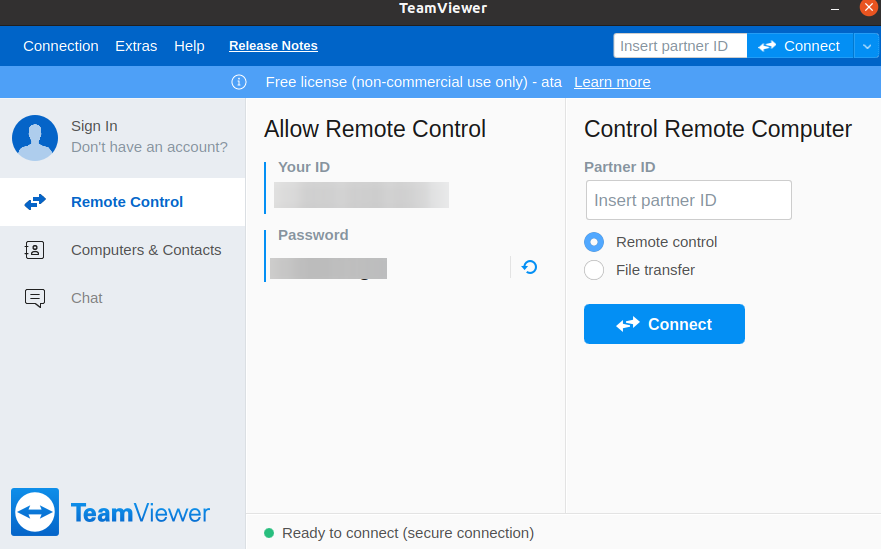
TeamViewer 的主界面现在会显示出来,就像下面的界面一样。您可以在中间看到已经为您分配了唯一的ID和密码。连接到这台计算机时,您需要这些信息,使用 TeamViewer 从另一台计算机连接时会用到。
在右侧,您将看到一个字段,您可以在其中输入伙伴的ID以连接到他们的计算机或执行文件传输。
连接到远程计算机
现在您已经在您的计算机上安装了 TeamViewer,您来到了最令人兴奋的部分 – 连接到远程计算机。本教程使用另一台运行 TeamViewer 并连接到互联网的 Ubuntu 计算机,但您可以连接到运行 TeamViewer 并连接到互联网的任何计算机。
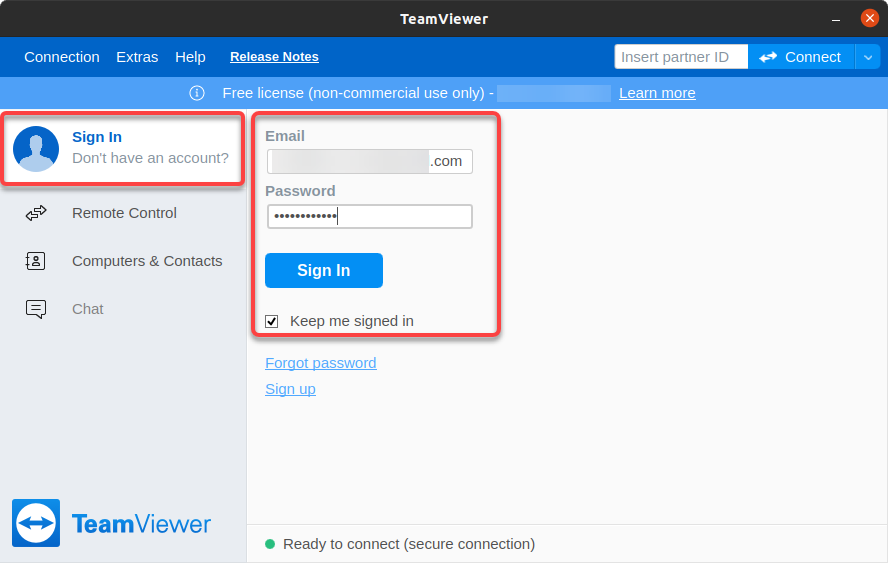
1. 在 TeamViewer 上登录您的帐户。
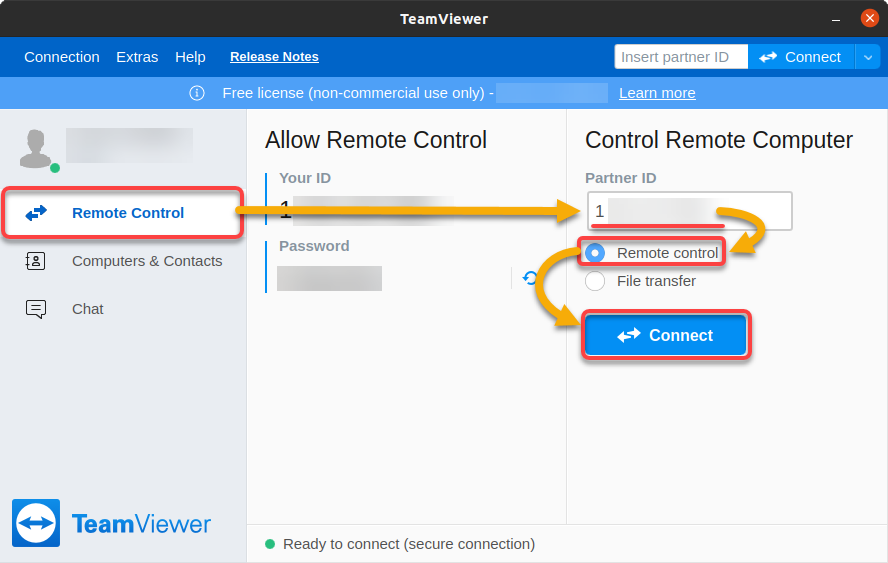
2. 接下来,获取远程计算机的合作伙伴 ID 和密码,使用以下步骤连接到远程计算机:
- 在您的计算机上的 TeamViewer 中的合作伙伴 ID 栏中输入另一台计算机的合作伙伴 ID。
- 确保选择了“远程控制”选项。
- 点击连接以在本地和远程计算机之间建立连接。
3. 输入远程计算机的连接密码,然后点击登录以进行身份验证。
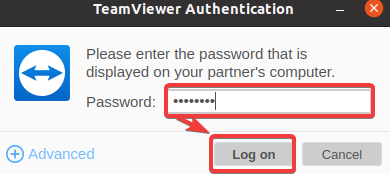
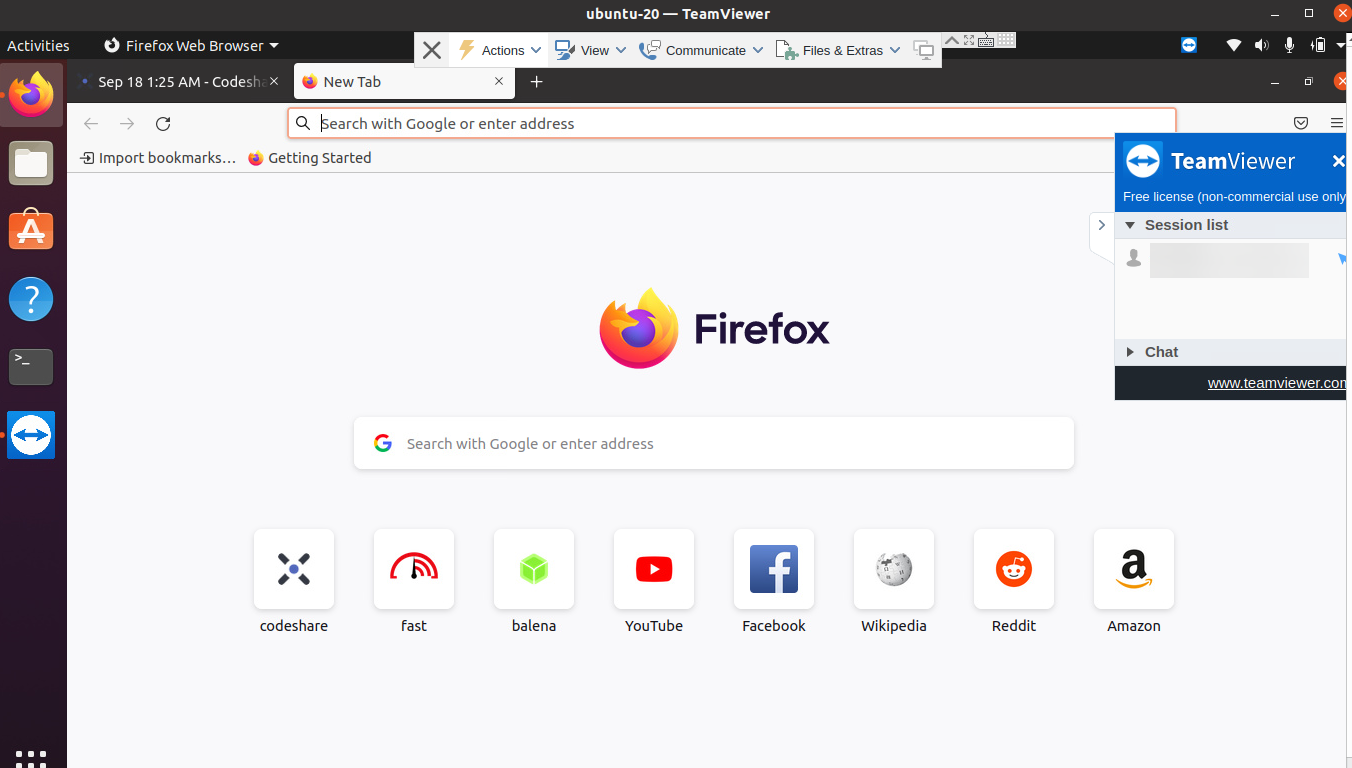
如果连接成功,您将在一个新窗口中看到远程计算机的桌面。
在 TeamViewer 窗口的右侧下方显示有一个工具栏,其中包含聊天、传输文件等选项。
恭喜!您现在可以像坐在远程计算机前一样操作它了!
安装 TeamViewerPS PowerShell 模块
您现在可以控制远程计算机,这很酷。但是,您是否必须手动管理远程计算机上的所有内容呢?
为什么不安装 TeamViewerPS 模块呢?TeamViewerPS 是一个 PowerShell 模块,允许您与 TeamViewer API 和本地 TeamViewer 客户端进行交互。
要安装 TeamViewerPS 模块:
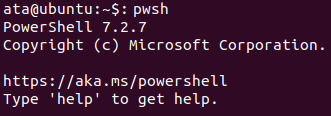
1. 以 root 用户登录,然后在终端上运行以下命令以启动新的 PowerShell 会话。
2. 接下来,运行以下命令Install-Module以安装 TeamViewerPS 模块。
键入 A 并按 Enter 继续安装。

确认 TeamViewerPS 模块安装
3. 现在,运行以下 Update-Module 命令以更新 TeamViewerPS 模块到最新版本。

使用 TeamViewerPS PowerShell 模块
在安装 TeamViewerPS 模块之后,是时候看看模块是否真的可用了。TeamViewerPS 模块让您可以自动执行诸如以下但不限于以下的任务。
- 检索在线客户端列表。
- 连接或断开连接到机器。
- 甚至卸载 TeamViewer 应用程序。
但由于这些任务需要付费的 TeamViewer 订阅,您将只运行基本命令来测试 TeamViewerPS PowerShell 模块。
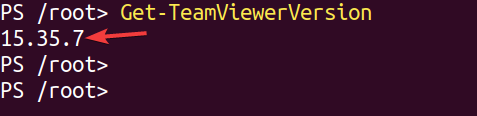
1. 运行以下命令以检查安装在您的计算机上的 TeamViewer 版本。
请注意,所有以下命令都必须以 root 用户身份运行。
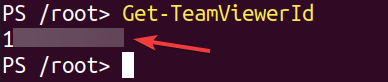
2. 接下来,运行以下命令以检索本地计算机的 TeamViewer ID。
你将看到与下面类似的输出。正如你所见,TeamViewerID 被打印在 STDOUT 流中。你可以将这个信息保存在一个变量中,然后在你的 CI/CD 流水线中使用。
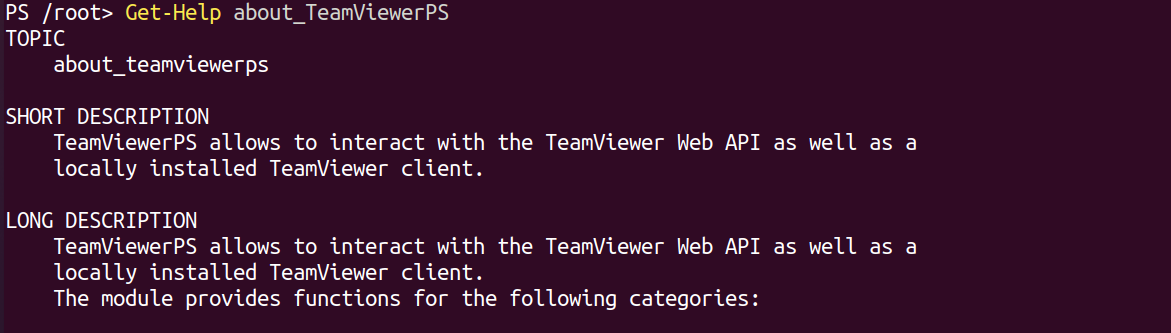
3. 最后,运行下面的 Get-Help 命令,了解有关 TeamViewerPS 模块的更多信息。
结论
远程管理工具的需求从未如此之大,特别是在当前大流行的状况下。在本教程中,你安装了 TeamViewer 并学会了如何通过几次点击连接到远程计算机。
使用 TeamViewer,你可以轻松连接并管理运行任何操作系统的远程计算机,而无需离开你的机器。现在,通过 TeamViewer 和 TeamViewerPS PowerShell 模块,你可以节省时间并自动化任务。
有了这些新知识,为什么不开始创建一个 Web API来自动执行一些 TeamViewer 的任务呢?